Import Your First Mailing List
Let’s walk through creating your first GreenArrow Studio mailing list. Follow the steps below to set up the list, create a custom field and import your initial list of subscribers from a CSV file.
Many of the options that you have during this process are normally left at their default values. We’ve given those steps a prefix of Optional:.
Create a Mailing List
- Log into GreenArrow Studio, go to the
Mailing Liststab, and clickCreate Mailing List:
- Give your mailing list a
Name. This name will be displayed on any subscription forms you set up and on your GreenArrow Studio dashboard:
-
Optional: You may include extra
X-*headers when delivering email to this mailing list. If you wish to do so, then setUse Custom HeaderstoYes, and enter your headers:
-
Optional: By default, GreenArrow Studio directs unsubscribes to a page that looks like this:
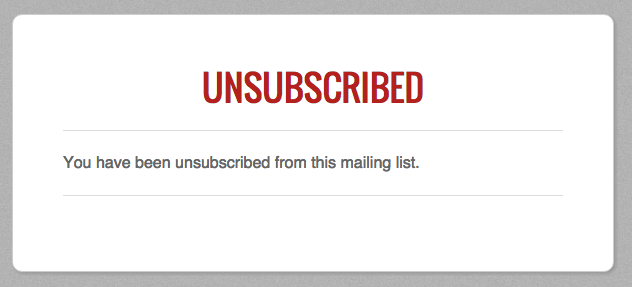
If you’d rather direct unsubscribes to a URL with custom content, then set
Redirect UnsubscribestoYes, and enter the URL that you wish to redirect to:
-
Optional:TheFormat Fieldsetting can be used to control whether subscribers receive plaintext or HTML emails. It is turned off (set toNo) by default, which means the following:- If you’ve composed both the HTML and plaintext version of an email, then GreenArrow Studio will send every subscriber a multipart message which contains both versions. Each subscriber’s email client will then pick which version to render, based on its abilities and configuration.
- If you’ve composed only an HTML or only a plaintext version of an email, then GreenArrow Studio will send just that version to all subscribers:
Set the
Format Fieldsetting toYesif you’d like to allow subscribers to choose between receiving HTML or plain text emails. Otherwise leave it set toNo:
-
Optional: Choose one or more seed lists that you’d like to send to by default. A seed list is an extra set of addresses that are sent to over the course of each campaign. For example, you could use the GreenArrow Monitor seedlist to monitor your deliverability:

- Set your sending speed. This is the number of messages you’d like sent per hour. Entering
0will allow your server to send as fast as it’s able to without restriction:
- Enter your company name or a person’s name in the
From Namefield:
- Enter the email address your emails should come from in the
From Emailfield.
-
Optional: Enter a
Sender Emailaddress. This is normally only used by ESPs. See our Adding a New Domain page for more details on the Sender Header:
-
Optional: Set a
Reply-To Emailaddress if you’d like to receive replies at an address other than yourFrom Emailaddress:
- Select the
VirtualMTAthat you wish to use by default when sending to this list. TheVirtualMTAsetting controls what IP address, relay servers, or group of IP addresses and/or relay servers are used to send emails. See our VirtualMTAs page for more details:
- Choose the
URL Domainto use for constructing URLs used in your emails for click and open tracking. See our URL Domains page for more details:
- Select a
Bounce Emailaddress for receiving bounced emails. See our Bounce Processor page for more details:
-
Optional: You may enable the
Split-Test Automatic Winner Selection Featureif you’d like. This feature, which is off by default causes Studio to perform a split test of all versions of a campaign, pick a winner based on a metric, such as click rate, and send the winner to the remaining subscribers who were not a part of the split test:
-
Optional: You may enable
Google Analyticsintegration. This does the following:- Adds Google Analytics open event tracking for campaigns and autoresponders.
- Adds Google Analytics parameters to links for campaigns and autoresponders.

- Click
Create this mailing list:
You’ve just created a mailing list. GreenArrow Studio will now take you to a page which shows the mailing list’s details.
Create a Custom Field
If you’re going to import more than just email addresses into this list, you’ll need to add one or more custom fields to hold that data. Here’s how to set up a custom field:
- Click
Custom Fields:
- Click the
Create a custom fieldbutton: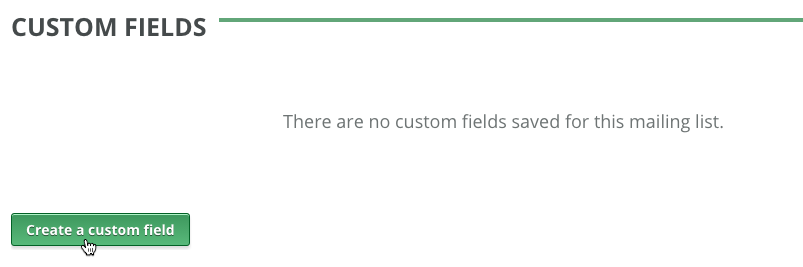
- Enter a
Namefor the field:
- Choose the appropriate data
Typefor this field. In this example, we’re choosing theTexttype. You can read more about the available custom field types in our Custom Fields page:
-
Optional: Choose whether or not this field should be Required. When a custom field is required, subscribers cannot be created or edited without having a value for it:

-
Optional: Set the field parameters for this custom field. In this example, we’re going to accept all of the defaults in this section. See our Custom Fields page if you’d like more details on these parameters, see our Custom Fields page.
- Click the
Create this fieldbutton at the bottom of the page:
You’ve just created a custom field. Next, we’ll import some subscribers into your mailing list.
Import Subscribers Into Your Mailing List
- Click
Subscribers:
- Click the
Importbutton:
-
Optional: Select a
Statusto apply to all the records in the list you’re importing. This should be left at the defaultStatusofActiveunless you’re importing subscribers who previously unsubscribed, bounced, generated a spam complaint, or were otherwise deactivated:
- Choose whether or not to
Run Autorespondersfor the addresses in this list:
- Set
Update SubscriberstoYesif you’d like this import to be able to update existing subscribers. SelectNoif you’d like existing subscribers to be left unmodified:
-
Optional: Choose the appropriate options under
Data to UpdateandSubscribers to Updateif you choseYesabove: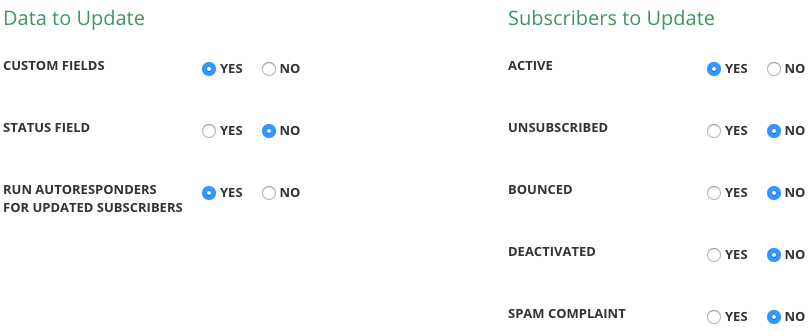
- Select the appropriate
Field Separator,Field EnclosureandCharacter Setfor the file you’re importing:
- Specify the format that’s used for dates in the file that you’re about to import. If there are no dates present in the file, then the date format selection doesn’t matter:

- Choose the correct
File Sourcefor this import. Usually theUpload a Fileoption is used:
- If you chose to upload a file in the previous step, then click the
Choose Filebutton, then upload your file:
- Specify whether your CSV file has a header row. If it does, then the header (first) row’s contents won’t be imported into the mailing list:

- Click the
Continue with this importbutton:
- Map the fields in your import file to the correct GreenArrow Studio fields. In the example below, I matched my file’s
EMAILfield to GreenArrow Studio’sEmailfield and my file’sFIRST_NAMEfield GreenArrow Studio’sFirst namecustom field:
- Click the
Continue with this importbutton:
-
Next, schedule your import to run immediately or at another time:

If you’re scheduling the import for later, you can enter a specific date and time or just type in a time relative to now. For example, you can enter
in 2 hours, and GreenArrow Studio will understand what you mean, as shown by the text that was generated underneath the text field in the screenshot below:
- Click the
Schedule this importbutton:
- The import has now been scheduled, and will automatically start running at the time that you specified. GreenArrow Studio will redirect you to the
Jobspage, where you can see the status of the import. It will appear in theActive Jobssection of theJobspage until complete, and which point it will be moved to theCompleted Jobssection:
Congratulations! You’ve created a mailing list, created a custom field, and imported subscribers into the mailing list. You can move onto creating your first campaign.