Content Editor
- Table of Contents
- Introduction
- Split Testing
- Editing Content
- Attachments
- Responsive Editor External Dependencies & Availability
Introduction
This document describes the campaign editing interface, which provides the following HTML editing options:
- BEE responsive editor (used by default)
- TinyMCE WYSIWYG editor
- Raw HTML editor
The default interface does not support EDM Designer, but the legacy editor interface does. Other than EDM Designer support, the default interface provides a superset of the legacy interface’s features.
See the Content Editor Configuration page for configuration options.
Split Testing
GreenArrow Studio supports split-testing email campaigns. Split testing sends each content version to an equal share of the recipients unless Automatic Winner Selection is enabled.
Split testing is automatically enabled when more than one content version is defined. Click the Add additional HTML content or Add additional text content button shown below to add more content versions:

Editing Content
Clicking the Edit Content link in the campaign summary section scrolls you down to the Content section of the page. The Content section displays a row for each content version belonging to the campaign. It also has a save status indicator at the top-right corner of the section. Each content version in a campaign lists its Subject and format.
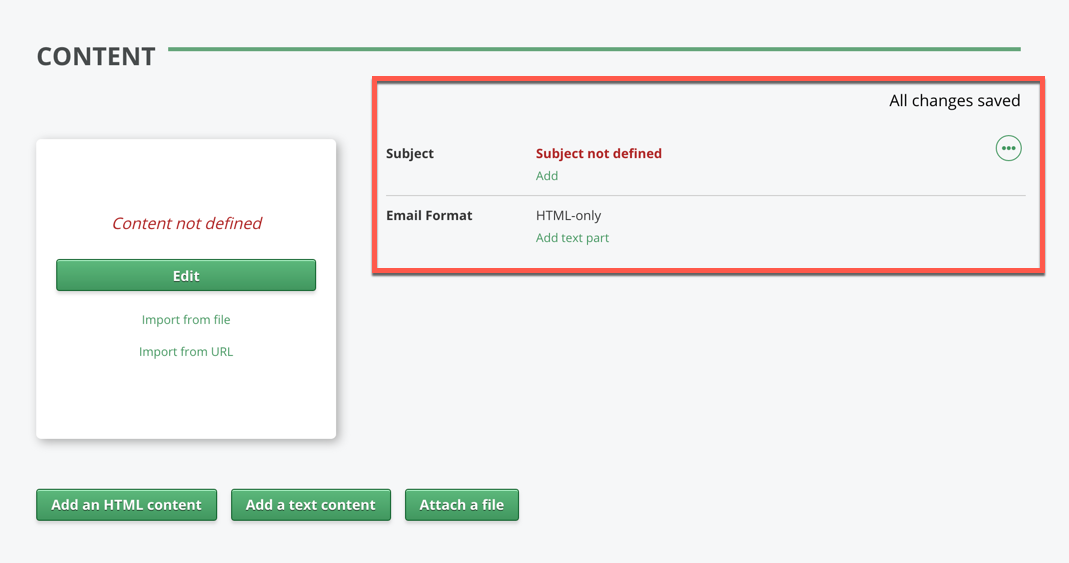
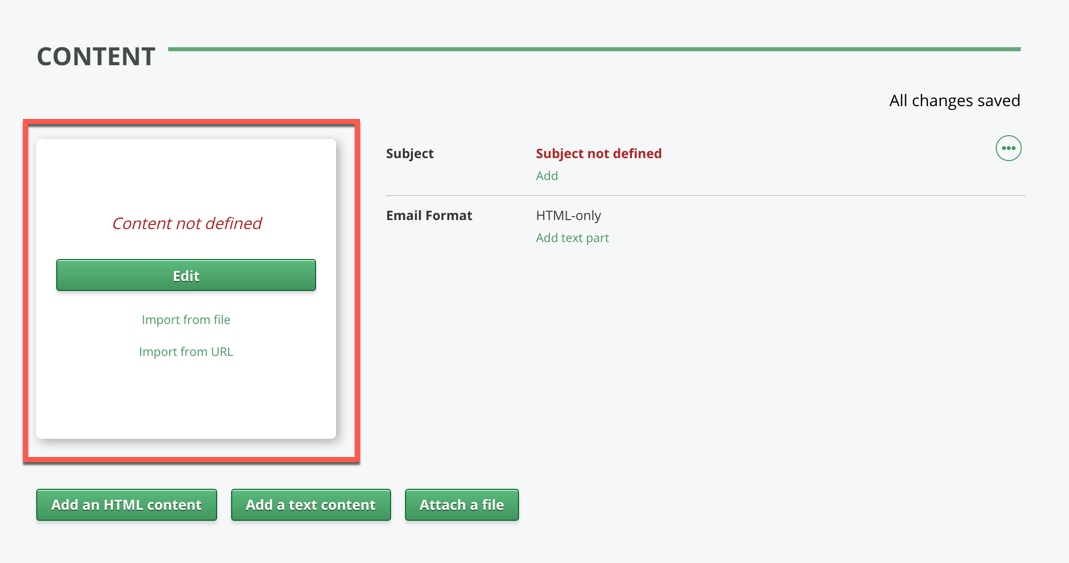
If a campaign has more than one content version, each version also has a unique name listed. Each content version row also contains a preview panel. This panel shows a rendered preview of your content if it is defined. Hovering over this image gives you the options to Edit your content or View a preview of your content. If your content has yet to be defined, this panel displays buttons to Edit the content, Import from file or Import from URL.
The Content section also contains options to add an attachment to the campaign or add additional content versions for split-testing.
Each content version must have a Subject before the campaign is sent. You can edit the Subject by clicking on it, clicking on the Edit button that appears next to it, or clicking the Add button next to a Subject not defined warning:
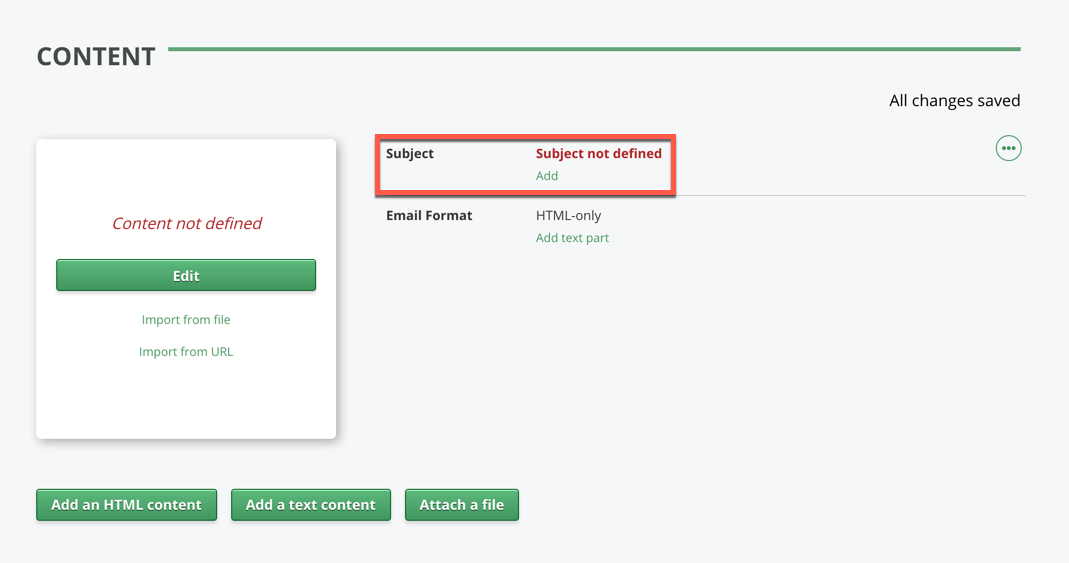
You can edit the Name of a content version in the same way as the Subject, but the Name is only listed if there is more than one content version belonging to the campaign.
The Email Format section shows the content’s format. If the content is HTML-only, there’s an option to add a text part. If the content is Text-only, there’s an option to add an HTML part. If the content is Multipart (HTML and text), there’s an option to edit the text content. This section displays a warning if you have added a text-part to the content but not yet defined it.
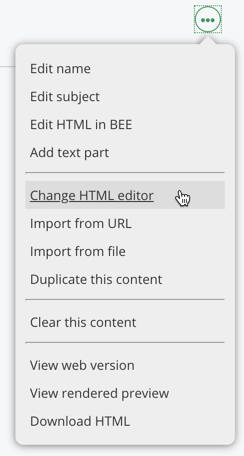
Each content version’s available actions are listed in its Actions dropdown menu, which appears in the top right corner of the row:
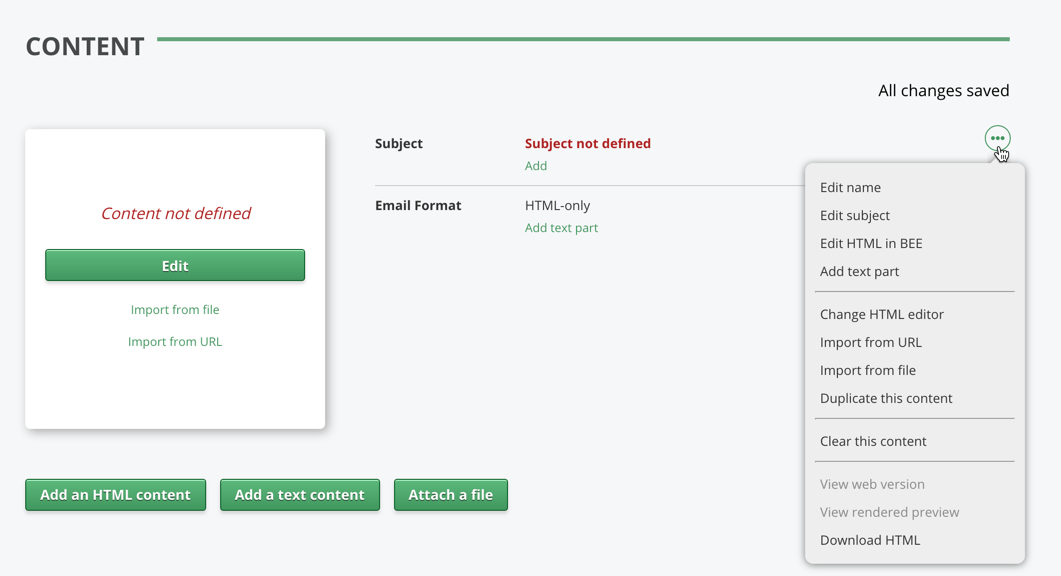
You can change the editor used by a content version by clicking the Change HTML Editor link in that version’s Actions dropdown menu:
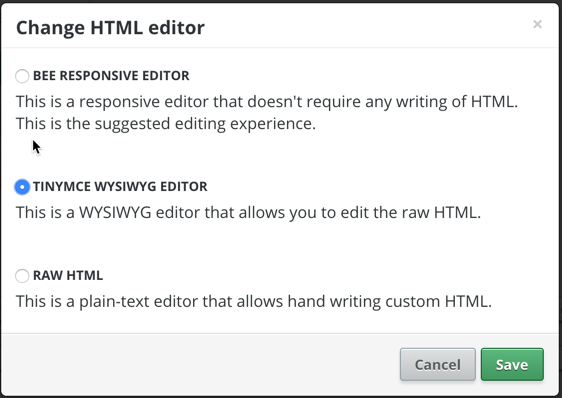
You can then chose between the three available editors:
Using the BEE Editor
The BEE editor is made up of 4 primary components:
Top NavbarBottom NavbarWYSIWYG SectionBEE Editor Actions
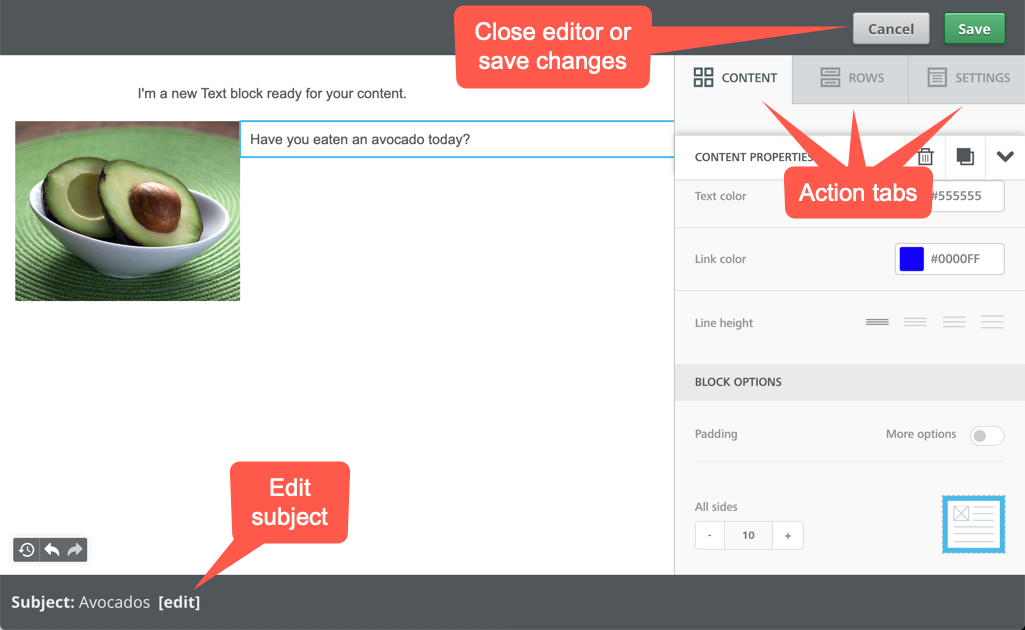
The Top Navbar offers Save and Cancel buttons.
The Bottom Navbar contains a link to edit the content’s Subject. This link is for convenience, and you do not need to open the HTML editor to edit the Subject. Changes to the Subject take effect immediately.
The WYSIWYG Section (What You See Is What You Get) is the primary component of the BEE editor. It shows you an editable preview of what your HTML looks like. Replacement codes are shown in their %%code%% format and not in their rendered format. To edit a specific section, click on it. The right-hand BEE Editor action panel changes to a context-specific interface when a section is selected in the WYSIWYG Section.
The BEE Editor Actions panel offers actions to control your BEE content further. It has 3 tabs: Content, Rows, and Settings.
The Content tab allows you to add new text, images, buttons, dividers, or social elements to your message. To add a new content block, select the content type you want from the menu, and drag-and-drop to where you want the content to appear in the message. The Rows tab allows you to add new rows and columns to your message.
Rows are the containers for your content, and they tell the BEE editor how to organize your message (as well as how to collapse it on smaller screens). Select a row from the menu that is the desired size and shape and drag-and-drop it to wherever you’d like in the message.
The Settings tab offers a few general settings for your entire message, such as the width of the content area, the background color, and the default font and link colors.
Do you still have questions about the BEE Editor Interface? Try looking at BEE’s official documentation. It contains a thorough overview of the BEE content editing interface.
Uploading Images
The BEE editor groups images together on a per-organization basis. This differs from TinyMCE, where each campaign has a separate image folder.
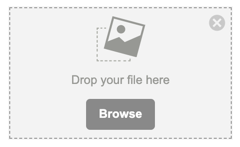
When an image block is added in BEE, a new dialog appears that prompts you to drag your image into place or browse your existing images:
If you browse existing images, then you have the option to choose any one of your organization’s images, regardless of what campaign they were originally uploaded for. For this reason, the BEE Image Browser supports creating folders to keep your images organized:
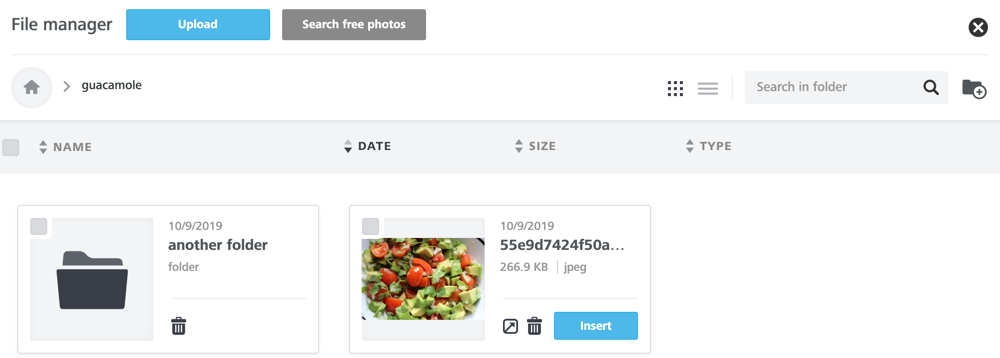
You can also click on the Search free photos button shown in the image above to find new stock photos for your campaign.
If you have trouble uploading a large image, please check the value of your System Configuration’s Max Campaign Image Size setting.
Editing Images
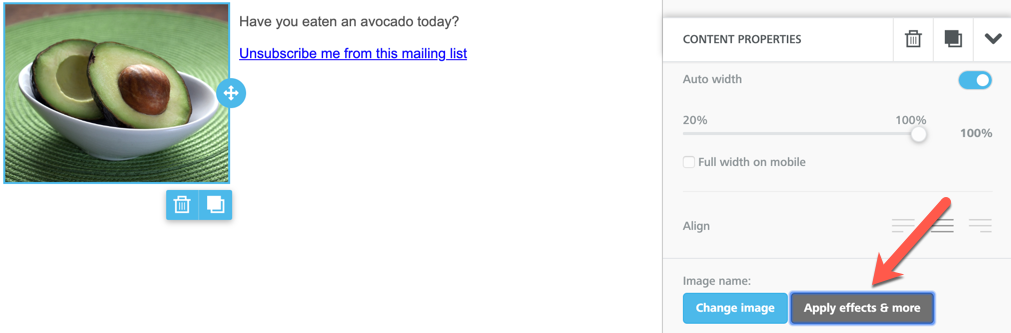
The BEE editor contains a lightweight image editor. To use the image editor, you must first upload and insert an image into your message. Open the image editor clicking the Apply effects & more button in the Context tab:
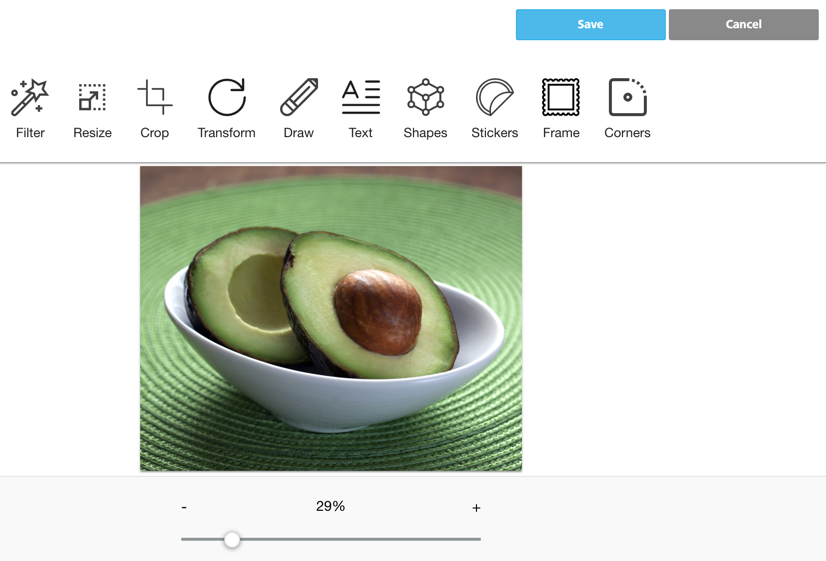
Once in the BEE Image Editor, you can apply a wide range of effects, such as cropping, adding a frame, or manually marking up an image. Click the blue Save button at the top of the screen to save your changes:
When you save an edited image, your original image is not modified. Instead, BEE creates a copy of your image in a directory called editor_images. It may take a few seconds for the BEE editor to update as your browser unloads the old image and loads the newly edited image.
Replacement Codes
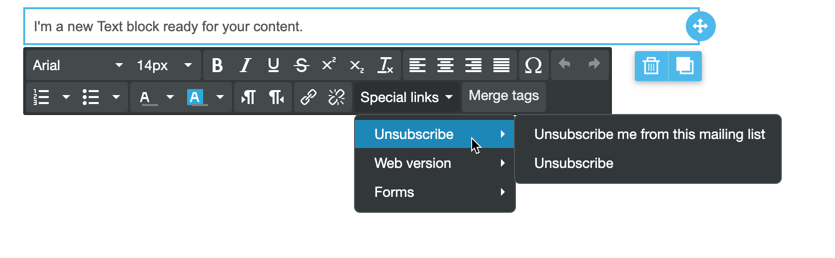
The BEE editor incorporates replacement codes, such as unsubscribe links, custom fields, and forms, directly into the editor. This means there are no links on the top navbar like there are in the TinyMCE or Raw HTML editors. To insert an unsubscribe link, edit a text field, select the Special Links menu, then select an unsubscribe link to insert:
To link to a form, go to the same Special Links menu, then click on the Forms menu. The Forms menu only appears if the mailing list has forms.
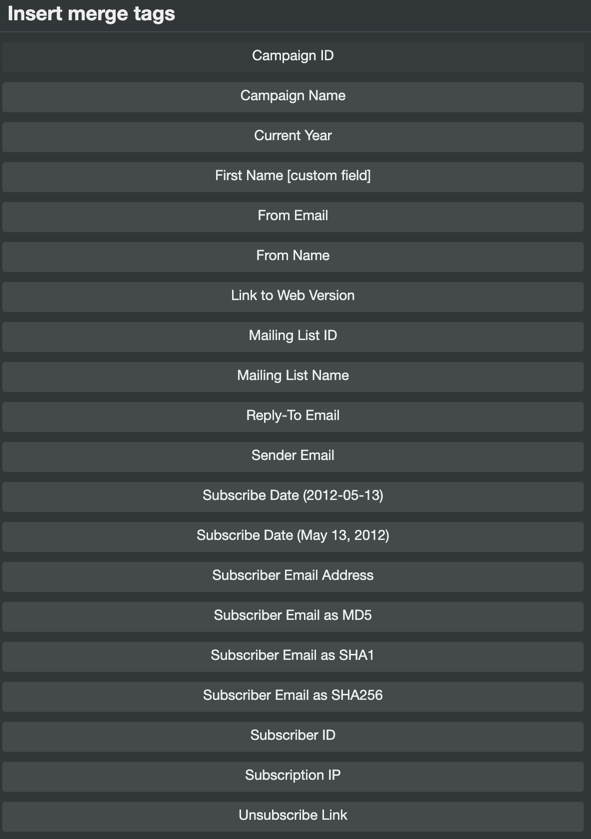
To insert a custom field, click on the Merge Tags dropdown menu next to Special Links. This opens up the merge tags menu:
Custom Rows
GreenArrow’s BEE editor integration allows you to save sections of your content as custom rows. This allows you to easily reuse common components between campaigns.
You must access Studio via HTTPS to use custom rows in the BEE editor.
Custom rows are enabled unless you’re using your own BEE license key. If you are using your own key, then you must enable the Save Rows feature in your BEE account for custom rows to work in GreenArrow.
To save a row, click to highlight the row. This will reveal a save icon.
![]()
If you see the delete and duplicate icons, but the save icon is missing, then you likely have a content block, rather than row selected.
Clicking the save icon will prompt you to enter a name for the custom row. If you specify a name that’s already taken by a custom row on this mailing list, you’ll be offered to overwrite the existing row.

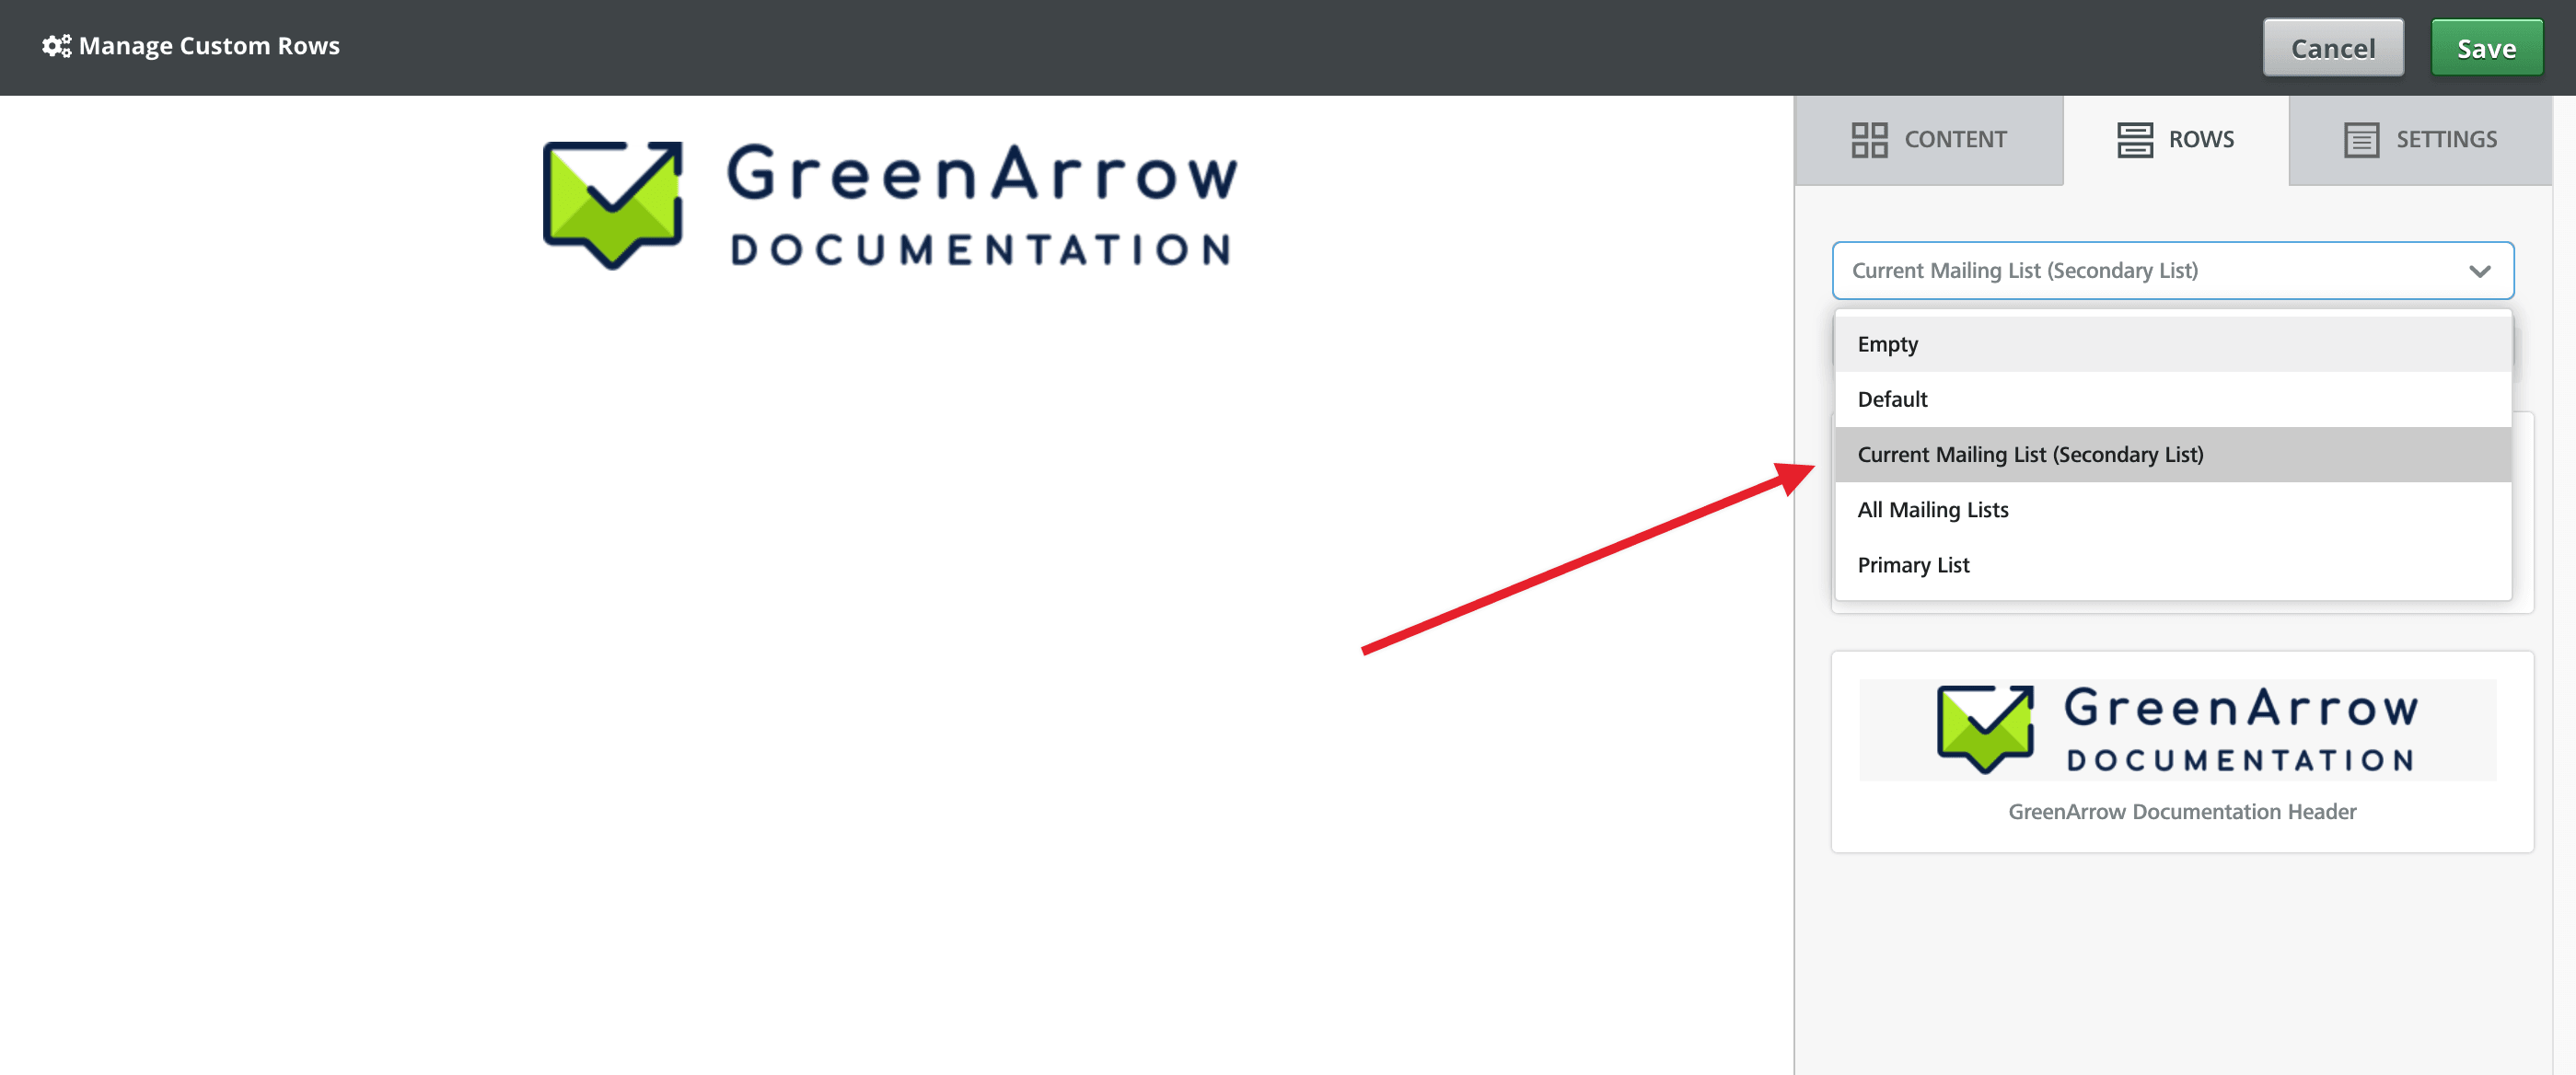
Once you have saved a custom row, it will be available after selecting “Current Mailing List” from the rows dropdown.
To delete or rename rows, click “Manage Custom Rows” in the top-left of the editor.
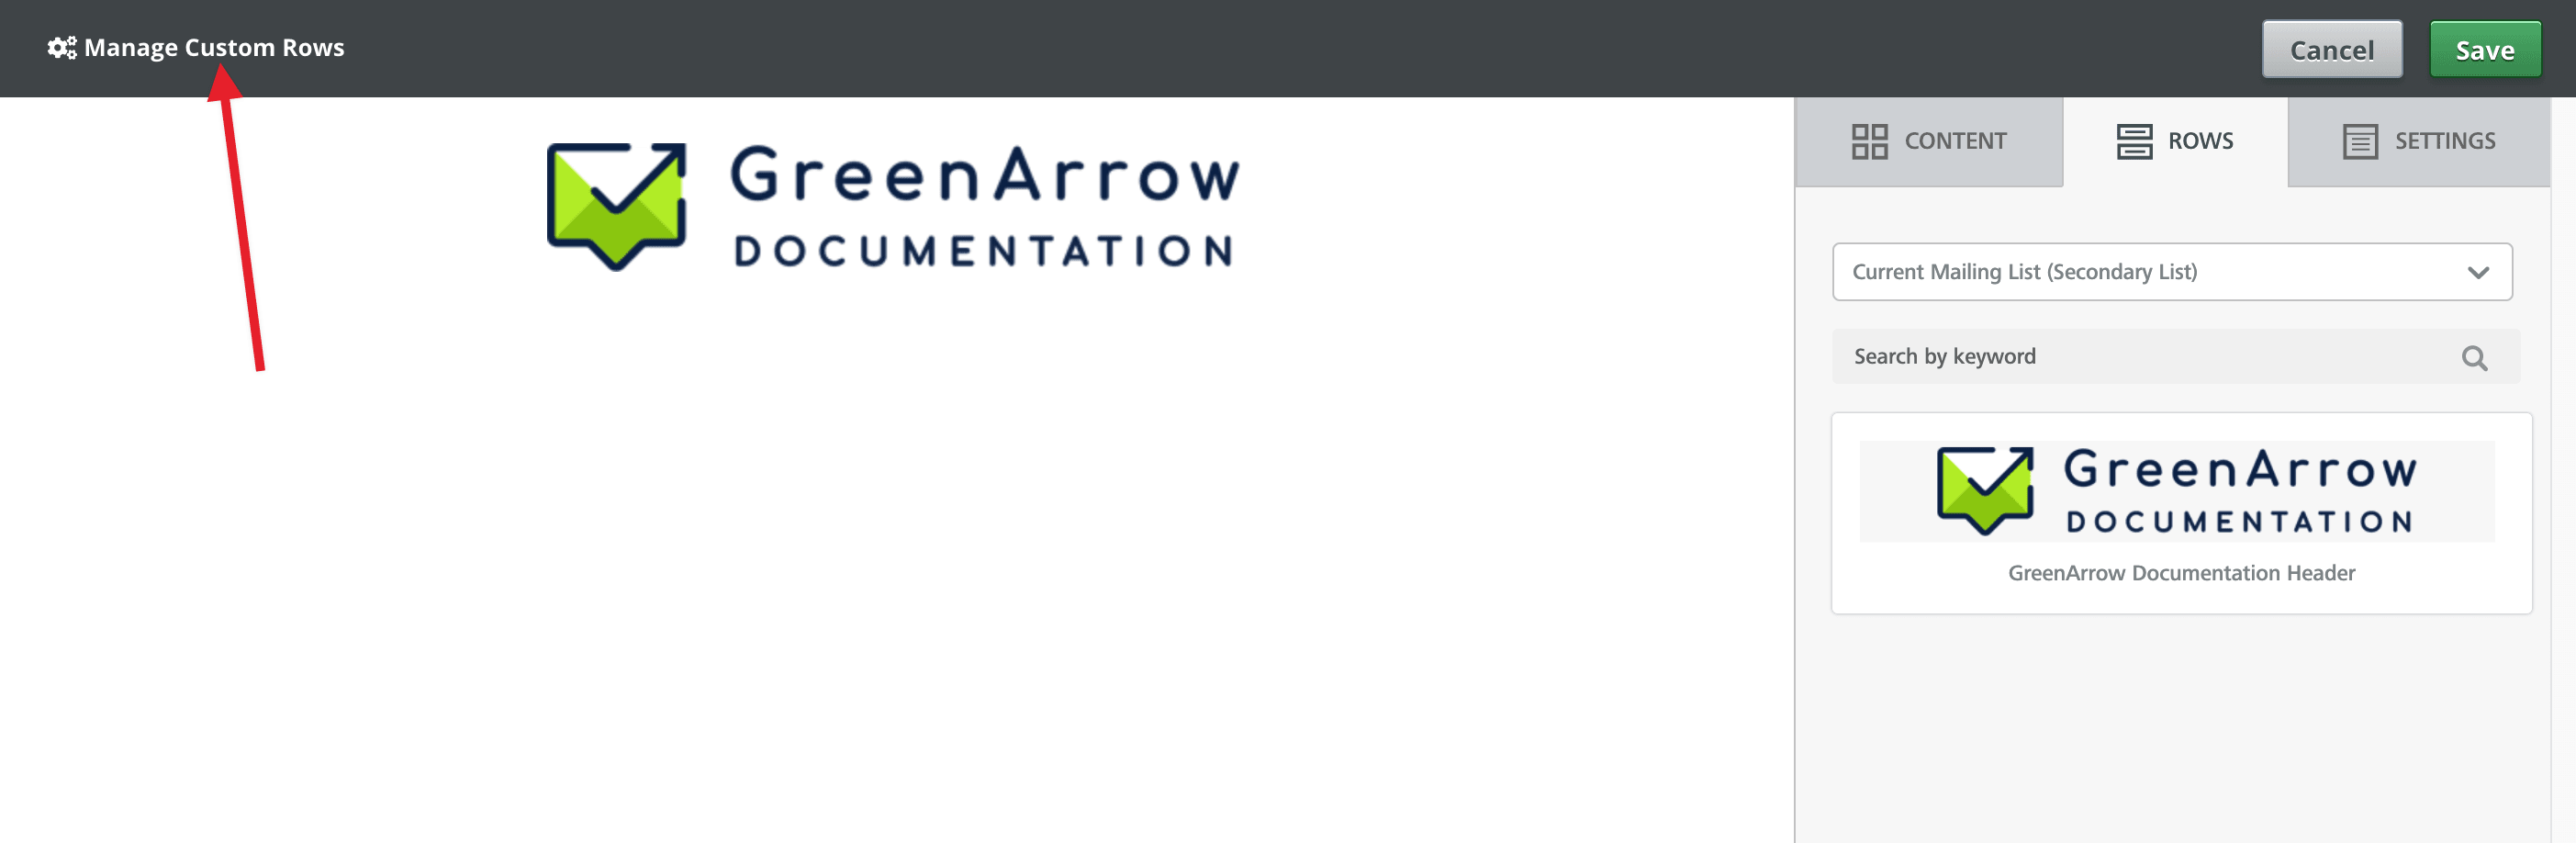
You’ll be presented with this screen to manage your custom rows.

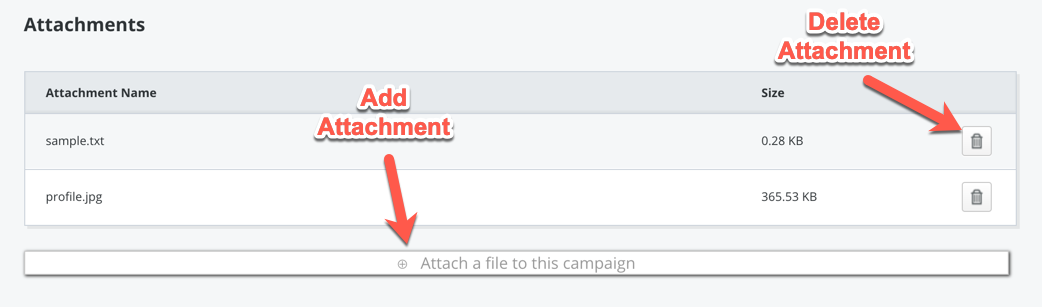
Attachments
The bottom of the Content section contains an area for adding and removing attachments:
Responsive Editor External Dependencies & Availability
GreenArrow Studio’s responsive editor is licensed on a monthly basis from a third-party. As such, it could be removed from future versions of the product (i.e. due to the third-party changing its API, terms, or availability of the editor). Additionally, the third-party may drop support for specific browsers or operating systems at their sole discretion, without our knowledge or approval. The user interface may also be updated or changed by the third-party without prior notification. Finally, functionality in the responsive editor may be updated, altered, or removed entirely at the third-partiy’s sole discretion without prior notification or approval.
If any of the events described above were to occur, campaign content would not be lost. Instead, it would remain editable in the TinyMCE or raw HTML interfaces. For more information, see the BEE Plugin Terms of Service.
The responsive editor is loaded from a third-party server and requires that those servers to be available and accessible. For more information, see the BEE Plugin status page.