
How To Create Lists and Import Subscribers Using GreenArrow’s API and Ruby
A minute automated is a minuted earned.
Automation can be such a life-saver—after all, a minute saved is a minute earned. GreenArrow’s APIs are robust and powerful, and allow you to automate a variety of tasks (mailing list management, transactional email, modifying settings, etc.) There are so many options that it can be a bit mind-boggling. Today, we’ll make sense of two auto-magical, time-saving tricks I have for your email list and subscribers.
We’ll be using Ruby, but we’ve used a clean syntax recognizable to most developers so that it can be translated into other languages without much trouble.
Here’s how to use GreenArrow Studio’s API to retrieve data on current mailing lists, create a new mailing list, and add a new subscriber.
Setting The Stage With A Development Environment
OK, let’s get started! First, we’ll use RVM to set up a Ruby 2.5.0 development environment in macOS or Linux (or Windows systems that have Cygwin installed):
-
Install the GPG key:
gpg --keyserver hkp://keys.gnupg.net --recv-keys 409B6B1796C275462A1703113804BB82D39DC0E3 7D2BAF1CF37B13E2069D6956105BD0E739499BDB -
Install RVM:
curl -sSL https://get.rvm.io | bash -s stable -
Install Ruby:
rvm install 2.5.0
Next, we’ll create your API key. Here’s how:
- Log in to your GreenArrow Studio installation.
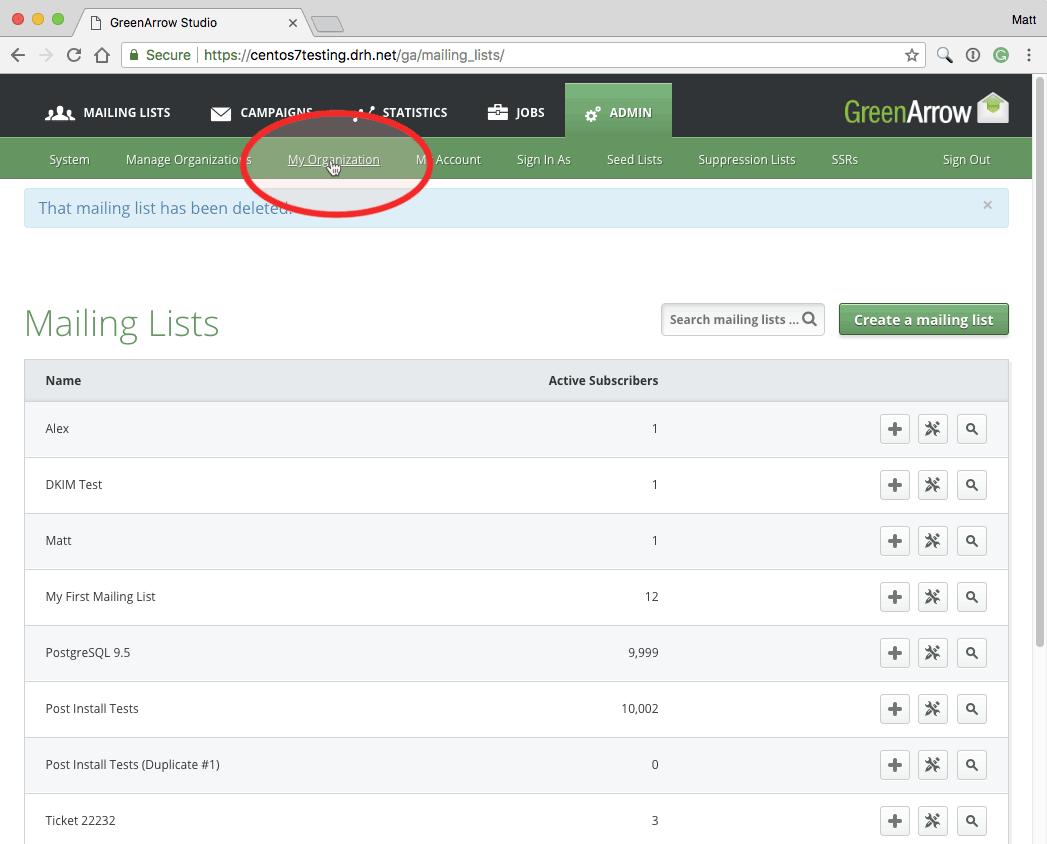
- Hover over “Admin” in the top navigation menu, then select “My Organization.”
- Click on the “API Keys” link.
- Click “Create a key.”
- Fill out the form. In the “Role” field, select “System Admin” if you want the API key to have access to all organizations or “Organization Admin” if you want the API key to be confined to your organization. Note that the “System Admin” role may be hidden from you if you’re logged in with an account that does not have “System Admin” privileges. Check out our Managing Users documentation if you’d like more context on the differences between the “System Admin” and “Organization Admin” roles:
- Click the “Reveal” link to show your new API key.
We even put together a handy GIF that shows all these steps in order:
Hello, GreenArrow!
Now let’s add our first script. In some ways, this is our “Hello world!” moment; all we’re doing is confirming that we’ve correctly set up our development environment and API key. But this code is foundational for what comes next and can also be a useful launching point if you want to do something with GreenArrow’s APIs that isn’t covered in this post.
Here’s our script:
#!/usr/bin/env ruby

require 'net/http'
require 'json'

api_base_uri = "GREENARROW URI GOES HERE"
api_key = "API KEY GOES HERE"

uri = URI("#{api_base_uri}/api/v2/mailing_lists")
req = Net::HTTP::Get.new(uri)
req['Authorization'] = "Basic #{api_key}"

res = Net::HTTP.start(uri.hostname, uri.port, :use_ssl => uri.scheme == 'https') {|http|
  http.request(req)
}

if res.code != '200'
  puts "The HTTP response code #{res.code} was returned. I expected to see 200."
else
  api_reply = JSON.parse(res.body)
  if api_reply["success"] != true
    puts "The API request failed with the error_message of: #{api_reply["error_message"]}"
  else
    puts "The API request succeeded!"
  end
  puts "\n" + JSON.pretty_generate(api_reply)
end
Here’s what the script does, line-by-line:
- Line 1 – the shebang line gets used by Unix-like operating systems to determine what interpreter to use to execute the script. Windows normally ignores this line.
- Lines 3 and 4 import the JSON module and Net::HTTP class. These are part of the Ruby Standard Library and used for processing JSON data, and HTTP requests, respectively.
- Lines 6 and 7 are used to define the base URI and API key of your GreenArrow installation.
- Line 9 constructs the URL needed to access the Mailing Lists API that our script queries.
- Line 10 creates the object that we’ll use to make our API call.
- Line 11 sets the
Authorizationheader, which we’ll use to authenticate to GreenArrow’s API. - Lines 13-15 make a request to GreenArrow’s API and save the result to the
resvariable. - Line 17 verifies that the response’s status code is
200. If any other value is returned, then something went wrong with the request, and an error is printed on line 20. - Line 20 parses the JSON returned by GreenArrow’s API.
- Line 21 verifies that a successful API response was returned.
- Line 26 pretty prints the response to the API request.
Now let’s get our script working:
- Use your favorite text editor to create a file named
hello-greenarrow.rbthat contains the code shown above. - Update the
api_base_urivariable on line 6 to specify the URI that you go to when you access GreenArrow Studio. The URI can use either HTTP or HTTPS. An example is https://example.com/ga. - Update the
api_keyvariable on line 7 to specify the API key that you created in the previous section. - Save your changes.
- Execute your script by running the
ruby hello-greenarrow.rbcommand. It should print some information on each mailing list that exists within your GreenArrow Studio organization. For example, here’s the first part of what the script printed for me:
The API request succeeded!

{
 "success": true,
 "data": [
 {
 "id": 1,
 "name": "Post Install Tests",
 "d_from_email": "[email protected]",
 "d_from_name": "Test",
 "d_reply_to": "",
 "d_virtual_mta": "System Default Route",
 "d_virtual_mta_id": 0,
 "d_url_domain": "centos7testing.drh.net",
 "d_url_domain_id": 1,
 "d_speed": 0,
 "d_sender_email": "",
 "d_bounce_email": "[email protected]",
 "d_bounce_email_id": "4@1",
 "d_seed_lists": [

 ],
 "d_autowinner_enabled": false,
 "d_autowinner_percentage": null,
 "d_autowinner_delay_amount": null,
 "d_autowinner_delay_unit": "minutes",
 "d_autowinner_metric": "",
 "has_format": false,
 "has_confirmed": false,
 "custom_headers_enabled": true,
 "custom_headers": "X-GreenArrow-DKIM:
[{\"domain\":\"list.com\",\"selector\":\"default\"}]\n",
 "primary_key_custom_field_id": null,
 "preview_custom_field_data": {
 },
 "is_remote_list": false
 }
 ],
 "error_code": null,
 "error_message": null
}
Anytime you make a call to GreenArrow Studio’s API, the first thing you should check in its output is the value of the success key. If success is true, as shown in the example above, then congratulations! You’ve just successfully written a Ruby script that interacts with GreenArrow Studio’s API. If success is false, then there’s probably something wrong with your API call. If the success key is missing, then you’re likely sending the request to the wrong URI.
Hello, Mailing List!
Next, let’s create a mailing list using the API. If you’d rather create the mailing list manually so that you can skip this section, feel free to do so using this video tutorial or this documentation.
Here’s the script that we’ll use:
#!/usr/bin/env ruby

require 'net/http'
require 'json'

api_base_uri = "GREENARROW URI GOES HERE"
api_key = "API KEY GOES HERE"

mailing_list_data = JSON.parse('{
    "mailing_list": {
        "name": "My Mailing List",
        "d_from_name": "My From Name",
        "d_from_email": "[email protected]",
        "d_speed": 0,
        "d_url_domain": "centos7testing.drh.net",
        "d_virtual_mta": "System Default Route"
    }
}')

uri = URI("#{api_base_uri}/api/v2/mailing_lists")
req = Net::HTTP::Post.new(uri)
req['Authorization'] = "Basic #{api_key}"
req['Content-Type'] = "application/json"
req.body = mailing_list_data.to_json
res = Net::HTTP.start(uri.hostname, uri.port, :use_ssl => uri.scheme == 'https') do |http|
  http.request(req)
end
puts JSON.pretty_generate(JSON.parse(res.body))
The above script introduces some new elements which weren’t present in the previous section’s hello-greenarrow.rb script:
- Lines 9-18 create a variable named
mailing_list_data, which contains our new mailing list’s settings. - Line 20 creates the object that we’ll use to make our API call. Note that we’re using an HTTP POST since we’re creating a mailing list. Our previous example used an HTTP GET since we were just viewing information about existing mailing lists.
- Line 23 sets a “Content-Type: ‘application-json’” header to tell GreenArrow’s API that the request’s body (line 24) contains JSON-encoded data.
Now let’s create that mailing list!
- Use your favorite text editor to create a file named
create-mailing-list.rbthat contains the code shown above. - Update the
api_base_urivariable on line 6 and theapi_keyvariable on line 7 to the same values that you used inhello-greenarrow.rb. - Update the data on lines 11-16 to contain the desired values for your new mailing list. See our Mailing Lists API documentation if you’re unfamiliar with any of the fields shown in this example script, or would like to specify additional parameters which are not included in the example.
- Save your changes.
- Execute your script by running the
ruby create-mailing-list.rbcommand. It should print output similar to the following:
The API request succeeded!

{
  "success": true,
  "data": {
    "id": 22,
    "name": "My Mailing List",
    "d_from_email": "[email protected]",
    "d_from_name": "My From Name",
    "d_reply_to": null,
    "d_virtual_mta": "System Default Route",
    "d_virtual_mta_id": 0,
    "d_url_domain": "centos7testing.drh.net",
    "d_url_domain_id": 1,
    "d_speed": 0,
    "d_sender_email": null,
    "d_bounce_email": null,
    "d_bounce_email_id": null,
    "d_seed_lists": [],
    "d_autowinner_enabled": false,
    "d_autowinner_percentage": null,
    "d_autowinner_delay_amount": null,
    "d_autowinner_delay_unit": "minutes",
    "d_autowinner_metric": null,
    "has_format": false,
    "has_confirmed": false,
    "custom_headers_enabled": false,
    "custom_headers": "",
    "primary_key_custom_field_id": null,
    "preview_custom_field_data": {},
    "is_remote_list": false
  },
  "error_code": null,
  "error_message": null
}
As in our previous script, the first thing you should check in the output is whether success is set equal to true. The remaining output repeats some of the same info that you passed in your API call, along with default values that were set on parameters that we didn’t specify in our request. For example, we didn’t specify a Reply-To address, so that field receives a default value of null.
Take note of this new mailing list’s ID. It’s 22 in the example output shown above, but you’ll likely receive a different number. We’re going to use your new mailing list’s ID in the next section.
Hello, Subscribers! Welcome to the Party
Next, let’s use an API call to add a subscriber to our mailing list. Here’s the script that we’ll use:
#!/usr/bin/env ruby

require 'net/http'
require 'json'

api_base_uri = "GREENARROW URI GOES HERE"
api_key = "API KEY GOES HERE"
mailing_list_id = LIST_ID_GOES_HERE

subscriber_data = JSON.parse('{
  "subscriber": {
    "email": "[email protected]",
    "status": "active"
  }
}')

uri = URI("#{api_base_uri}/api/v2/mailing_lists/#{mailing_list_id}/subscribers")
req = Net::HTTP::Post.new(uri, 'Content-Type' => 'application/json')
req['Authorization'] = "Basic #{api_key}"
req['Content-Type'] = "application/json"
req.body = subscriber_data.to_json
res = Net::HTTP.start(uri.hostname, uri.port, :use_ssl => uri.scheme == 'https') do |http|
  http.request(req)
  end

if res.code != '200'
  puts "The HTTP response code #{res.code} was returned. I expected to see 200."
else
  api_reply = JSON.parse(res.body)
  if api_reply["success"] != true
    puts "The API request failed with the error_message of: #{api_reply["error_message"]}"
  else
    puts "The API request succeeded!"
  end
  puts "\n" + JSON.pretty_generate(api_reply)
end
The above script is very similar to the previous section’s create-mailing-list.rb, so I won’t do a line-by-line review. Here’s how to use it to add a subscriber:
- Use a text editor to create a file named
add-subscriber.rbthat contains the code shown above. - Update the
api_base_urivariable on line 6 and theapi_keyvariable on line 7 to the same values that you used inhello-greenarrow.rb. - Update the
mailing_list_idvariable on line 8 to be the same ID as the mailing list that was created in the “Creating a Mailing List” section. If you skipped over that section or didn’t save the mailing list ID, then that’s fine – just run thehello-greenarrow.rbscript that we created earlier to generate a report of what mailing lists are present, and find the desired mailing list’sidin the output. - Update lines 12-13 to contain the desired values for your new subscriber. See our Subscribers API documentation if you’re unfamiliar with any of the fields shown in this example script, or would like to specify additional parameters which are excluded from the example.
- Save your changes.
- Execute your script by running the
ruby add-subscriber.rbcommand. It should print output similar to the following:
The API request succeeded!

{
  "success": true,
  "data": {
    "id": 20034,
    "mailing_list_id": 22,
    "email": "[email protected]",
    "created_at": "2018-04-12T08:35:55-05:00",
    "created_at_epoch": 1523540155,
    "status": "active",
    "subscribe_time": "2018-04-12T08:35:55-05:00",
    "subscribe_time_epoch": 1523540155,
    "subscribe_ip": null,
    "custom_fields": {}
  },
  "error_code": null,
  "error_message": null
}
As usual, the first thing you should check in the output is whether success is set equal to true. The remaining output tells you about the subscriber that was just created.
You’ve Taken Your First Step Into A Larger World, Luke
Congratulations! You just used GreenArrow Studio’s API to list your organization’s mailing lists, create a new mailing list, then add a subscriber to your list. There’s a lot more that you can do with GreenArrow’s APIs, and I hope the above examples provide a good launching point.
Here are some links that you may find handy if you’d like to do a deeper dive on any of the API calls shown above:
- GreenArrow Studio’s Mailing Lists API
- GreenArrow Studio’s Subscribers API
- Ruby’s Net::HTTP documentation
- Ruby’s JSON documentation
Want to go further? Check out GreenArrow Studio’s API documentation, or review a list of GreenArrow’s other APIs.
Have you used GreenArrow’s APIs to automate your workflow, or do you have an idea that you’d like to share for doing so? Let me know. In the meantime, keep on automating and happy sending!
Case Study: How Six Flags’ Email Delivery Climbs To The Top
What if you could cut your delivery time by 80%? Six Flags is the world’s largest regional theme park company,…
What is DKIM? An Intro, Check-up & List of Benefits
Digital signatures are everywhere. Gone are the medieval days of quill pens and wax seals (unless you’re a Game Of…